
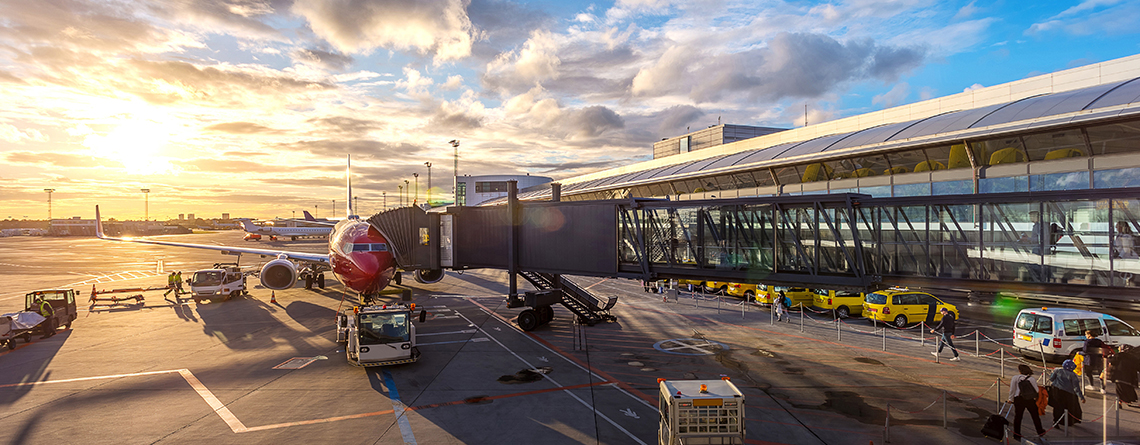
Tips for Flying Incident-Free with Your Performance Group
You’ve been looking forward to your ensemble’s upcoming trip for months, but as the day approaches your anxiety levels are rising, as you think about successfully and safely moving 150+ kids through the airport. From packing, to checking-in the group, to navigating security, even to boarding and deplaning, we’ve got you covered with savvy tips to get you from point A, to point B, smoothly. Plus remember, when traveling with MTC you will always have one (or more) Tour Directors on the trip, who are experts at traveling and moving groups. You are in good hands! Here are some tips for flying incident-free with your performance group.
1. Suitcases, Carry-ons, and Instruments – Oh My!
Don’t let the bags get the best of you. Preparing your students for airline luggage and carry-on guidelines, in addition to helping them navigate traveling with their instrument, will save you time and your sanity at check-in. Each airline carries different rules, but generally speaking each person may bring along one small suitcase (roller bag) and one additional carry-on bag (purse, laptop bag, small instrument, or backpack). Visit Airline Carry-on Guidelines to view the rules set by each airline for carry-on bags.
Encourage your students to bring necessities in their carry-on bags, including any vital medications, snacks (candy and food!), entertainment, and technology. However, it’s always good to remind everyone about liquid restrictions at security checkpoints. All liquids, aerosols, gels, creams, and pastes should be packed in a single ziplock bag and each of the items should not exceed 3.4 ounces (100 milliliters) within travel-sized containers. Additional details can be found at https://www.tsa.gov/travel/security-screening/liquids-rule.
And now their most prized possessions – their instruments! Most small instruments can be used as a student’s main carry-on if it fits within the airline’s size requirements and fits in an overhead bin or under the seat in front of them. However, this may mean that they miss out on a carry-on bag for their other necessities, unless these items can fit in a pocket on the instrument case. A better option may be for students to carefully fit small instruments in a small roller suitcase that they are bringing on the plane (in addition to their carry-on) or they may decide to check their instrument in a larger suitcase at the check-in counter. Most large instruments can also be checked under the plane (often for an additional fee). Either way, if your students choose to travel with their instruments, make sure each instrument is in a secure hard case, with extra padding inside, sturdy clasps on the case, and clearly labeled as ‘fragile’. As a rule, always check with your travel provider first (Music Travel Consultants), regarding the possibility of renting large instruments at your destination, as this could eliminate the hassle and risk of transporting bulky, expensive instruments. Music Travel Consultants can also work with the specific airline that you are using, on their unique guidelines, and can help sort out the details with you. For more information, check out our blog – Flying with Your Expensive Musical Instrument.
2. Check-in with Confidence
Having your group’s boarding passes printed, your traveler’s IDs ready, and all checked baggage with labeled luggage tags, can save a lot of time at check-in. It is also a good idea to have your Music Travel Consultants Tour Director or group leader go ahead of the group and speak to an airline check-in agent to determine the easiest way for the group to check in.
As you are traveling with a large group, you may also want to remind the group that this process may take some time, as there may already be an established line for the check-in counter when you arrive. Patience and kindness in these situations go a long way. The airline check-in agents can be your lifesavers if there are any issues with the group’s flight times, ticketing, or even cancellations on one or more legs of the trip. They hold the keys to making sure that the group stays together and arrives at their destination in the best way possible.
Keep in mind that large instruments or bags (over 50lbs) may require payment at the check-in counter, before allowing the traveler to check the item, each way (not round-trip). Be prepared with a credit card or payment, if needed. Additional tips can be found here on our blog – Group Flight Check-In Tips with Music Travel Consultants.
3. Security Sensibilities
The security check-point is a serious matter but can be navigated smoothly with a few simple reminders to your students. Before going through security, have your students check inside their carry-on bags for any remaining drinks that should be tossed and ask them to have their IDs and boarding passes out and ready for the TSA officers. Once at the check-point, remind students that they will have to remove a few select items from of their bags, to be scanned separately, including a ziplock bag of travel-sized and acceptable liquids, aerosols, gels, creams, and pastes, in addition to any piece of technology larger than a cell phone. If the student is carrying any liquid medications, please have them notify a TSA officer, as a separate inspection may be needed. However, medications in liquid form, should be allowed over the 3.4 ounces (100 milliliters) rule.
Musical instruments packed in a roller bag or as the student’s carry-on will require a physical inspection at the security checkpoint. Simply have the student notify a TSA officer that they have an instrument with them and that it requires special handling.
Please also remind students before the trip to wear easily removable shoes and accessories (shoes, belts, etc).
Another rule of thumb is to remind everyone in your group to be extremely careful with jokes and words spoken at the airport. In addition to following proper etiquette in public, students should not speak about dangerous scenarios or weapons. This could cause a major disturbance legally and with your travel plans. For more tips visit our blog post – Tips for Getting Your Marching Band Through Airport Security.
4. Boarding and Deplaning, In Step
After finding your gate, the Music Travel Consultants Tour Director or your group leader should check in with the gate agents. These individuals can aid you in counting group members as they enter and exit the plane and matching it with their records. The Tour Director will always enter and exit the plane last, so rest assured, no one will be forgotten.
Set a meeting place and time in the gate area for all students to board the aircraft and deplane at your destination so that no one is lost or confused if going to the restroom or stepping away to get a necessity at the shop/restaurant. It may also be helpful for your group to have a buddy-system in place for extra accountability, based on airline seating assignments.
Traveling as a group doesn’t have to be intimidating – it can be fun! Remember the power of positivity and patience on your group’s journey, as it may take some time to navigate your travels, but building in extra time can ensure your trip runs smoothly and with less stress. Also, kindness goes a long way with everyone you encounter during your travels, as kindness is contagious. Happy people, equal happy travels. Enjoy the adventure!